How to Create a Web3 Wallet in 2025– Complete Guide
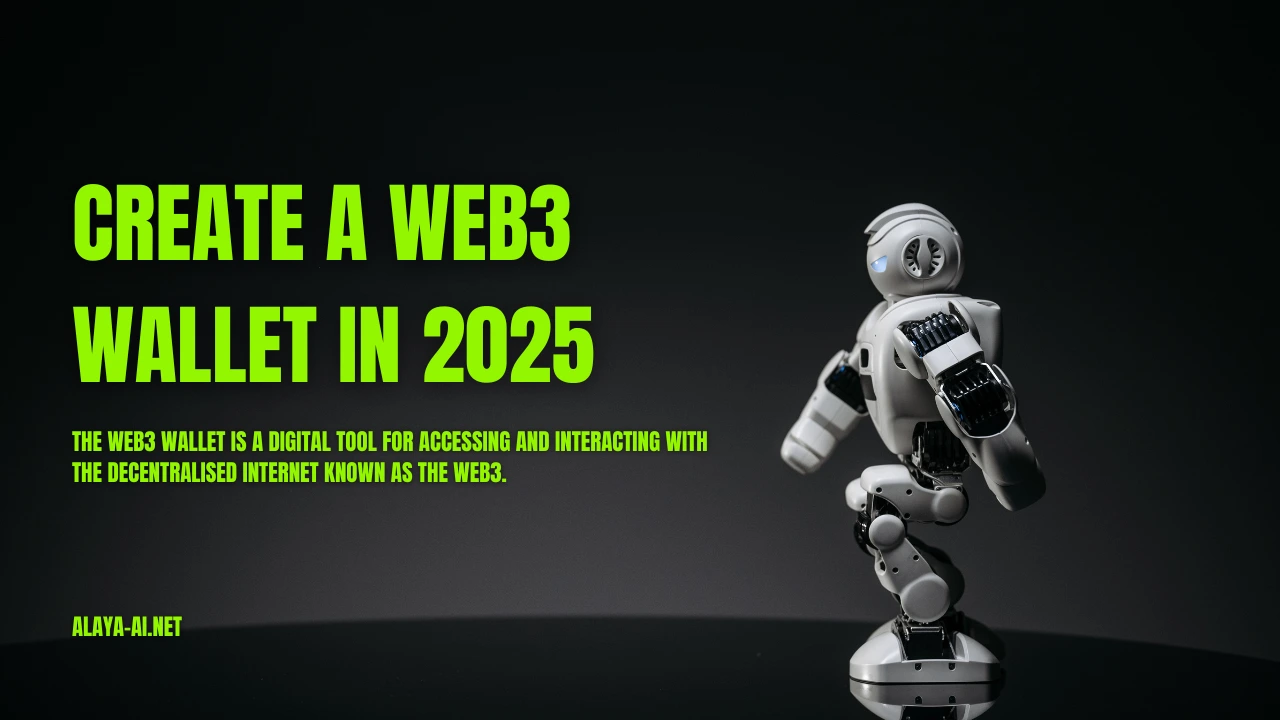
Create a Web3 Wallet in 2025: Are you curious about how blockchain technology and decentralised applications(dApps) interact securely and seamlessly? A Web3 wallet gives you access to the world of decentralised internet. They allow you to manage cryptocurrencies, execute transactions, and learn about innovative Web3 features.
Here you’ll find information about Web3 wallets, how they work, and how to get started.
- You can access decentralised applications with a Web3 wallet, which manages your crypto assets and private keys.
- Cryptocurrency wallets that are non-custodial give you full control over your tokens and digital assets, but they require a high level of security.
- If your wallet is lost, a seed phrase can help you recover it and safeguard your assets.
- Web3 wallet can provide a comprehensive user experience by supporting multiple blockchains and integrating with dApps.
What Is a Web3 Wallet?
The Web3 wallet is a digital tool for accessing and interacting with the decentralised internet known as the Web3. Unlike traditional crypto wallets, Web3 wallets support a wide range of features in addition to storing and transferring cryptocurrencies.
As your personal key to Web3, they enable you to connect with:
- DBApps (decentralised applications) such as NFT marketplaces, blockchain-based games or decentralized finance platforms
- A smart contract is a self-executing agreement embedded in a blockchain
- Assets beyond crypto, such as NFTs and tokens used in Web3 ecosystems
In Web3 wallets, non-custodial storage is usually one of the most important features. Due to the fact that you hold the private keys, you (and you alone) control access to your assets. In contrast, custodial wallets are managed by third parties (such as crypto exchanges and platforms) and store keys on your behalf.
Still unsure what Web3 is all about? Don’t miss this guide: What is Web3? and How It’s Changing the Internet.
With a Web3 wallet:
- You control your private keys, so only you can access your assets.
- It is your responsibility to ensure security. There is no way to recover access to your wallet if you lose the recovery phrase or credentials.
- As there is no middleman, you can manage your assets independently without relying on anyone else.
The level of control provided here supports the core Web3 principle of decentralisation, where power and data aren’t controlled by a single authority, but instead shared across a network. Ultimately, it promotes personal responsibility.
What types of Web3 wallets are there?
1: Hot Wallets
- Connected to the internet; easy to use (e.g., MetaMask, Trust Wallet)
2: Cold Wallets
- Offline hardware wallets; most secure (e.g., Ledger, Trezor)
What is the best Web3 wallet?
In terms of choosing the best Web3 wallet, there is no definitive answer, as the right wallet depends on your individual needs, intended use, and security requirements. Decide if security, user-friendliness, or a specific feature are most important to you.
How to Create a Web3 Wallet in 2025?
There are many wallets out there, so please do your research as to which one best fits your needs. Here are some we recommend:
- MetaMask
- Coinbase Wallet
- Apex Wallet
- ZenGo Wallet
- Rainbow Wallet
How to Create a Metamask Wallet
MetaMask is undoubtedly the most widely used blockchain wallet for storing cryptocurrencies and connecting to decentralized applications. However, setting up a MetaMask wallet can be a bit tricky for new users.
By the end of this guide, you’ll know how to install MetaMask, create your wallet account, and understand how MetaMask operates.
Let’s dive into the step-by-step tutorial.
Installing MetaMask on Chrome
- To begin, visit metamask.io and click on the Download button:
Although this tutorial uses Chrome, the same steps apply to Firefox and other supported browsers.
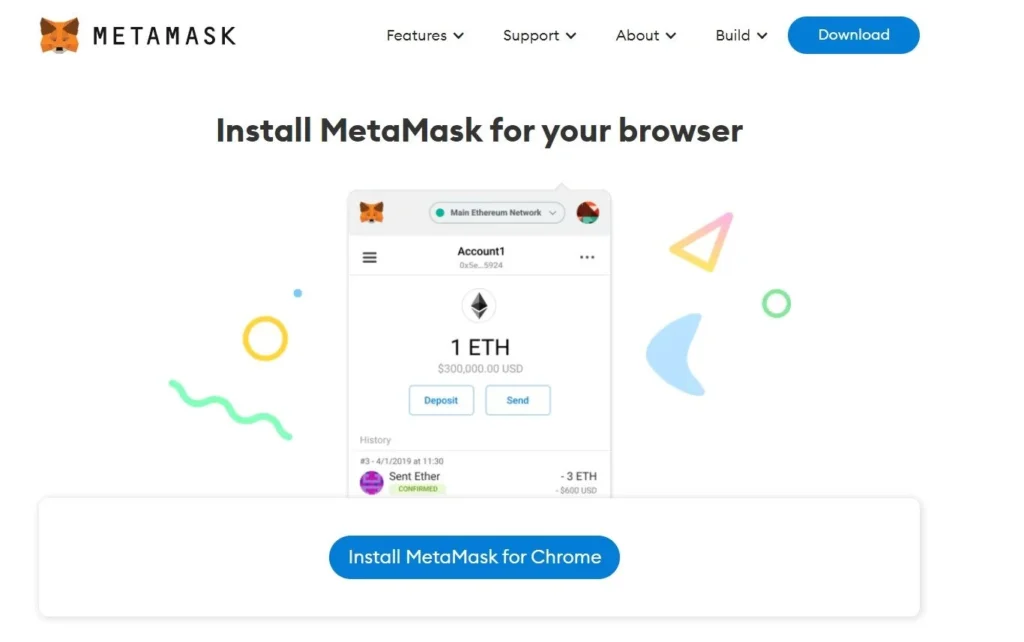
- Click the large blue button labeled “Install MetaMask for Chrome”:
- Then, proceed to Add MetaMask to Chrome:

This action will install the MetaMask extension in your browser.
Next, to setup our Metamask wallet we’ll need to create a new account.
Setting Up a MetaMask Wallet – Sign Up
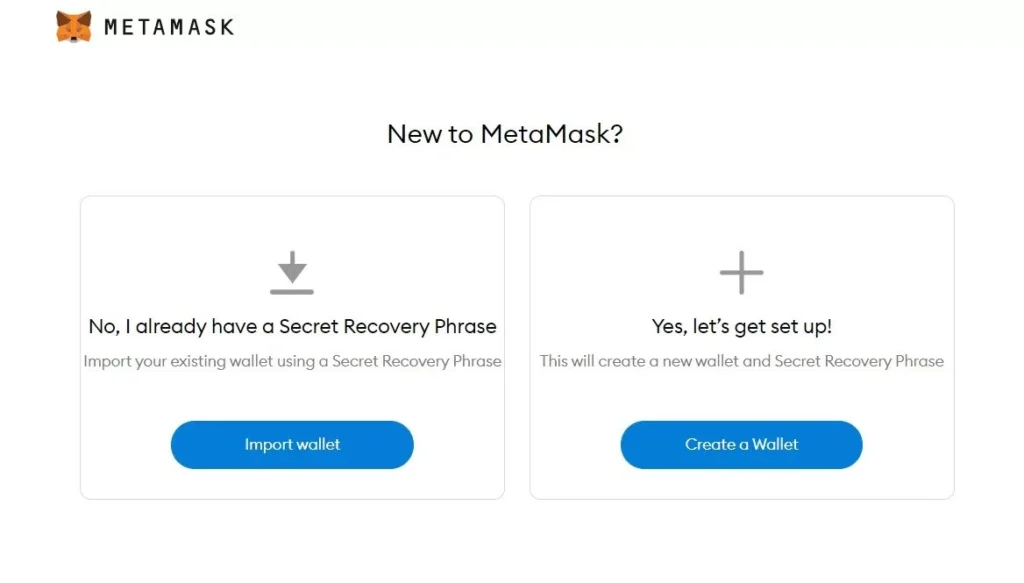
Once installed, click on the MetaMask icon in your browser to access the wallet setup page.
Click “Get Started”, and you’ll be presented with two options – either import an existing wallet using your 12-word recovery phrase or create a brand-new wallet. Choose Create a Wallet:
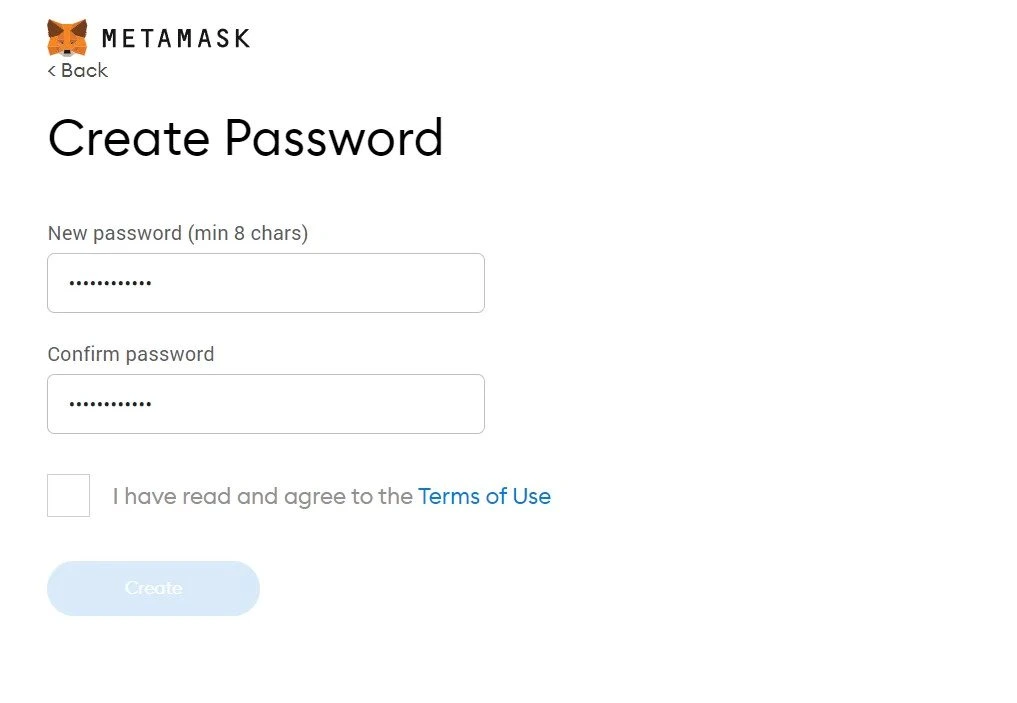
- At this step, you will be asked to set up a new password and accept the MetaMask Terms of Service.
This password protects your MetaMask extension on your device, not your crypto funds. Do not share this password with anyone.
After confirming your password, MetaMask will display your Secret Recovery Phrase – a unique set of 12 words used to access your wallet. This phrase is also known as a Seed Phrase or Mnemonic.
MetaMask advises you to save this phrase in a secure place, as it is the only way to recover your wallet if you switch devices, browsers, or reinstall the extension. A common practice is to write the phrase on paper and store it safely.
If you’re using Binance, check this Binance Web3 Wallet Setup Guide.
Very Important:
- Never share your Secret Recovery Phrase with anyone — it gives full access to your wallet
- Store it in a secure location.
- If you lose this phrase, MetaMask cannot recover your wallet or your funds.
- Once securely saved, click Next.
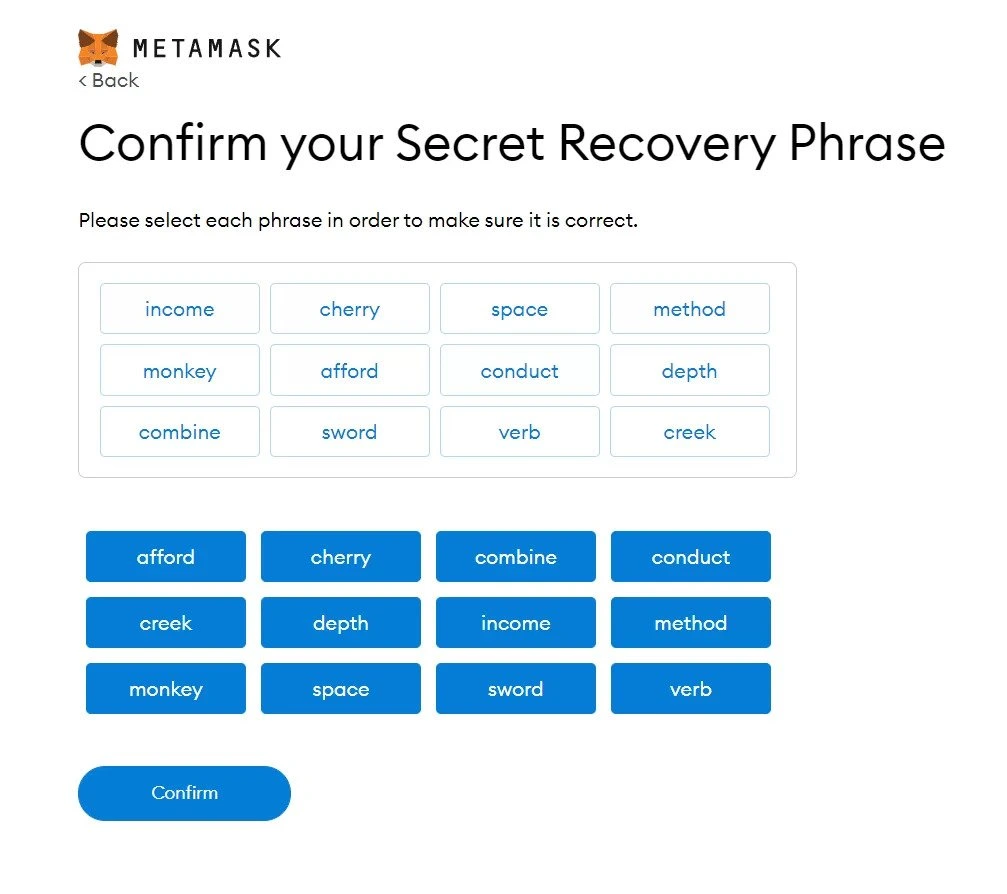
MetaMask will now ask you to re-enter the Secret Recovery Phrase to confirm that you’ve stored it correctly.
Congratulations!
You’ve successfully created your first MetaMask wallet. You’re now ready to receive and send cryptocurrency and interact with decentralized applications.
Key features of Web3 wallets
Web3 wallets come with practical features that make exploring and interacting with the decentralised world easier. By providing secure access to decentralised applications and services, they go beyond simple storage. The following are some of the most important features:
- Multi-chain support
- Integration with browsers or apps
- Token and NFT management
- Real-time interaction
Pros and cons of Web3 wallets
Choosing a Web3 wallet requires understanding its main benefits and challenges so that you can make an informed choice. Here is a summarised overview:
Advantages:
- Full control over private keys and assets
- Direct access to dApps and blockchain networks
- Independence from centralised platforms
- Support for various blockchains and digital assets
- Access to DeFi, NFTs, and other Web3 applications
Disadvantages:
- Loss of private keys results in the loss of wallet contents
- Requires knowledge of seed phrases and security practices
- Risk of phishing attacks and cyber threats
- Different wallets may not support all networks
- Security level depends on the type of wallet chosen
Best Web3 Wallets in 2025
| Wallet | Platform | Top Features |
|---|---|---|
| MetaMask | Chrome, Android, iOS | Supports Ethereum & EVM chains, simple interface |
| Trust Wallet | Mobile | Multi-chain support, beginner-friendly |
| Coinbase Wallet | Mobile, Extension | Built-in NFT & DeFi access |
| Binance Web3 Wallet | Mobile, Browser | Deep Binance ecosystem integration |
Pro Tips for Web3 Wallet Security
- Never share your recovery phrase
- Double-check URLs before connecting to any DApp
- Use cold wallets for storing large crypto assets
What You Can Do With a Web3 Wallet
| Use Cases | Example Platforms |
|---|---|
| Swap Tokens | Uniswap, 1inch |
| Buy NFTs | OpenSea, Blur |
| Use DeFi | Aave, Compound |
| Join DAOs | Snapshot, Aragon |
| Earn Airdrops | ZKsync, Starknet |
Conclusion
A Web3 wallet is your gateway to the decentralized world. Whether you’re buying NFTs, trading tokens, or exploring DeFi platforms, setting up your wallet is your first move. Follow this guide to get started safely and securely—and take control of your digital future in 2025